01
Open the Billing page
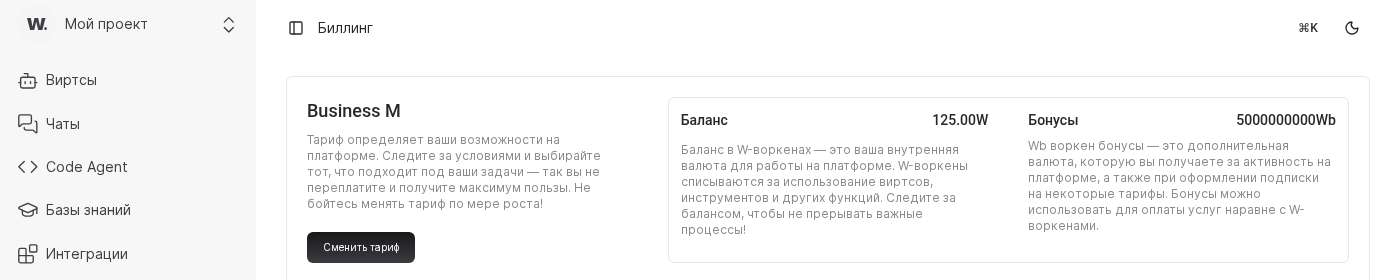
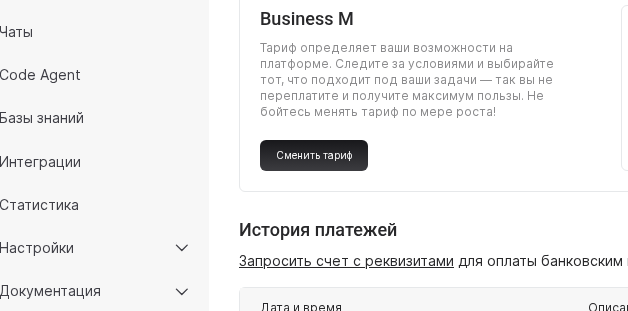
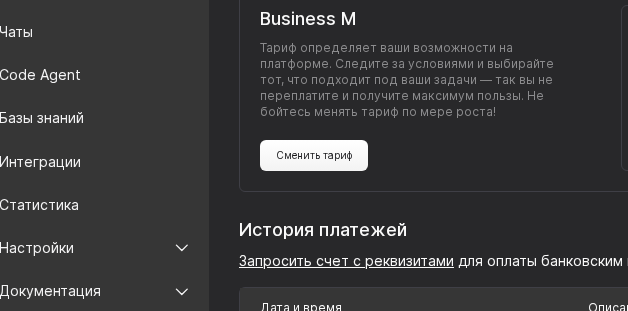
Open Billing from the left menu. Review the active plan, expiration date, and remaining workens.

Worken offers ready-made plans for every team, from a free pilot to Enterprise with dedicated SLAs. Use this flow to verify limits, pick a plan, and confirm payment.
Before you start
Open Billing from the left menu. Review the active plan, expiration date, and remaining workens.
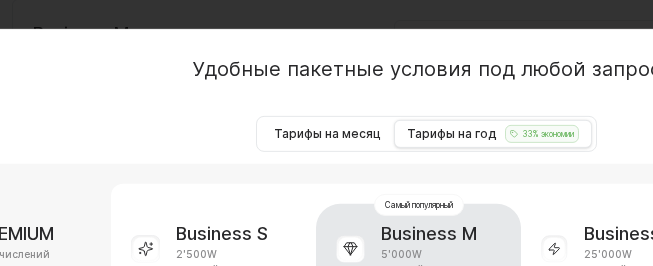
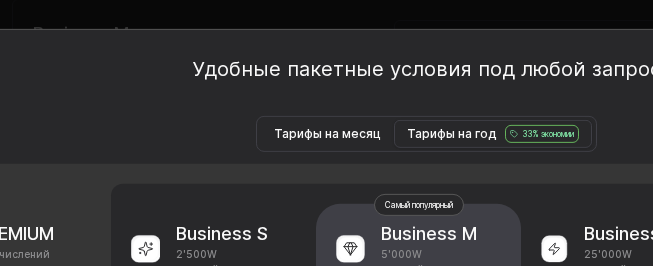
Match the number of virts, discount on workens, and analytics included. Growing teams usually choose Business M or L for extended reporting and priority support.
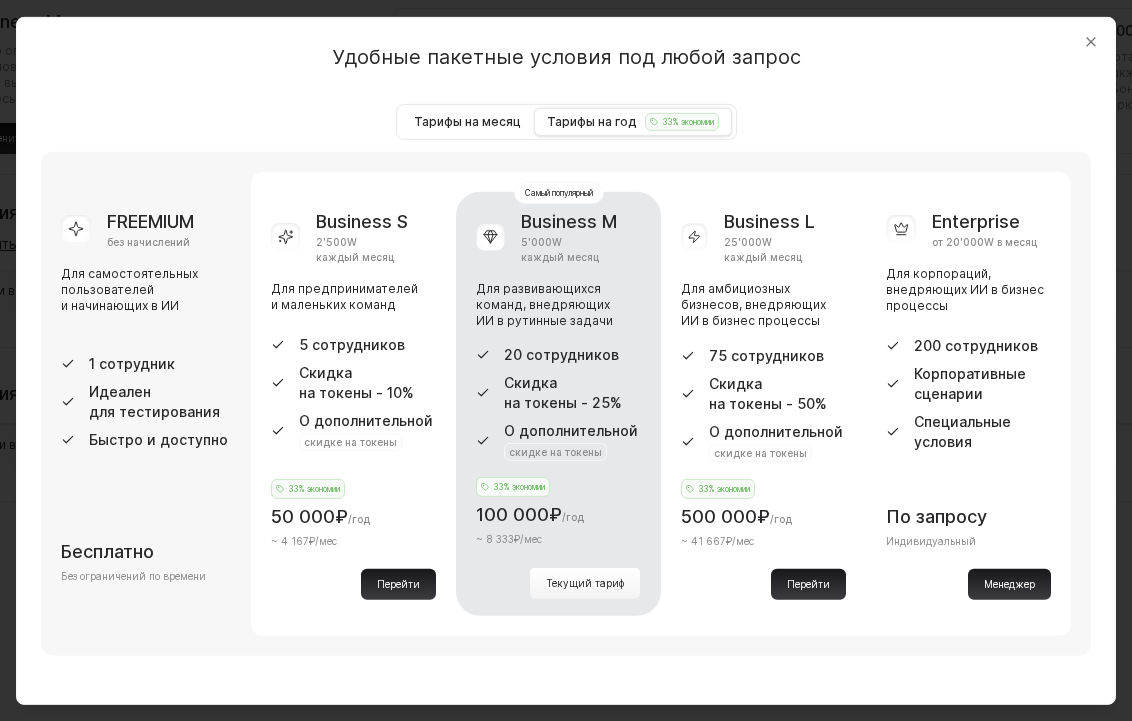
Select Change plan, pick the payment method, and submit the form. Once the payment succeeds, the new plan activates immediately and the receipt appears in Billing.
Open Change plan and switch between Monthly plans and Yearly plans. Compare totals and choose the billing cycle that fits your budget and procurement flow.
WARNING
Downgrades apply only after the current period ends. Reduce the number of active virts beforehand so the new plan does not disable live assistants.
Example
A support outsourcing firm started on FREEMIUM, then grew to five virts. The admin opened Billing, compared limits, selected the yearly cycle in Change plan, and upgraded to Business S with the corporate card. Both virts unlocked unlimited chats and worken discounts within minutes.