01
Open the data collection tab
Select the Virt, open the Chats tab, and choose Data collection. Review current fields and delivery channels to understand what already ships to downstream systems.
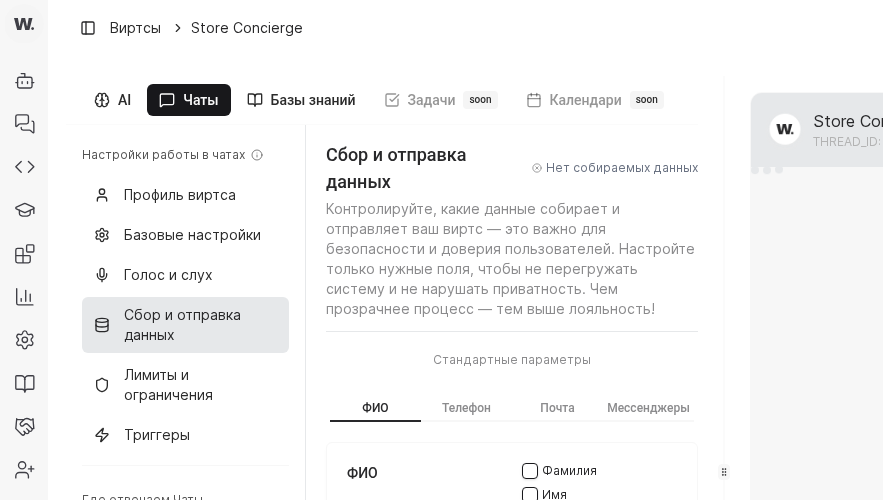

Use the Data Collection tab to define which fields a Virts must capture and how those details flow into CRM systems, analytics, or custom endpoints.
Preconditions
Select the Virt, open the Chats tab, and choose Data collection. Review current fields and delivery channels to understand what already ships to downstream systems.
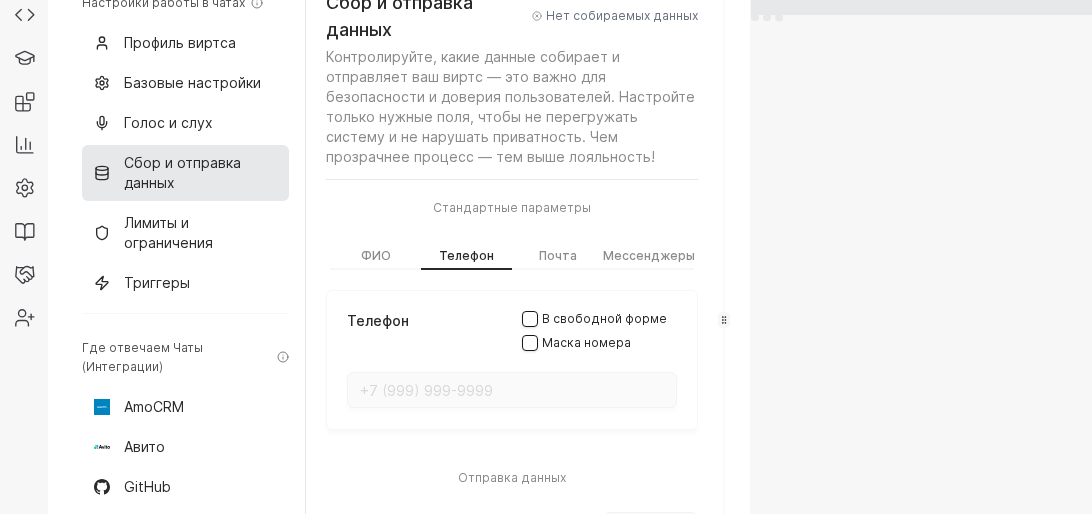
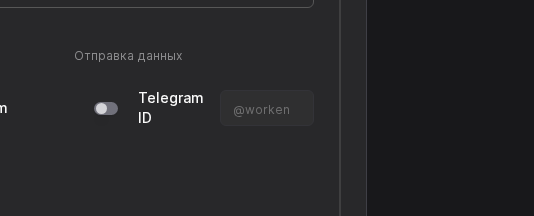
Pick the standard field block you need (for example, Phone) and configure the available input options such as free-form entry or number mask. Repeat the setup for Name, Email, and Messengers tabs so the question flow matches your script.
Pick a built-in integration (amoCRM, Bitrix24) or configure a custom Webhook. Provide the URL, HTTP method, payload format, and headers. Save changes and submit a test conversation to verify the receiving system stores every field.

TIP
If one CRM only accepts a subset of fields, sync the essentials there and forward the full payload to an internal webhook or data warehouse so analysts still get the complete profile.
Example
A property management firm enables name, phone, city, and “Apartment type” fields. After confirmation, Worken pushes the lead into amoCRM and sends the same payload to a Google Sheets webhook that the sales assistants monitor daily.