01
Open the model card
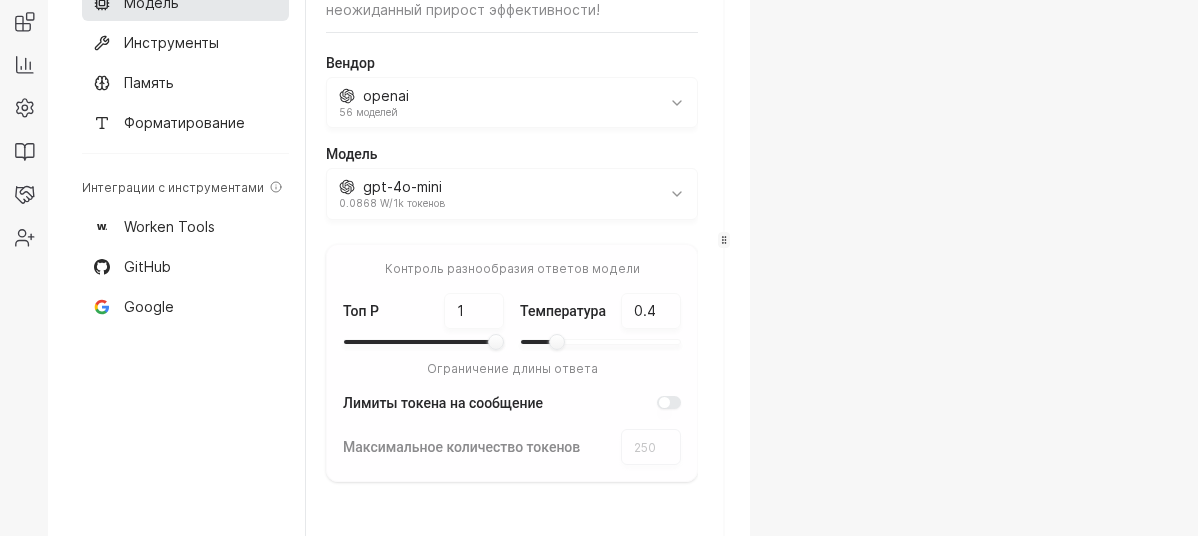
Select the virt, go to the AI section, and choose Model. Confirm you are in the intended virt and can see both vendor and model selectors before changing parameters.
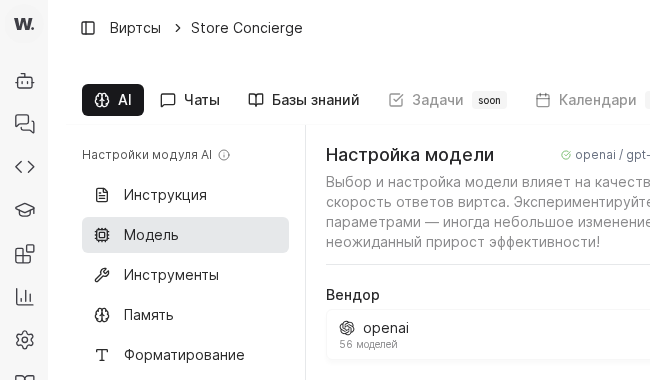

Picking the right model controls cost, latency, and tone. Work through these steps every time you launch a new virt or test a fresh provider.
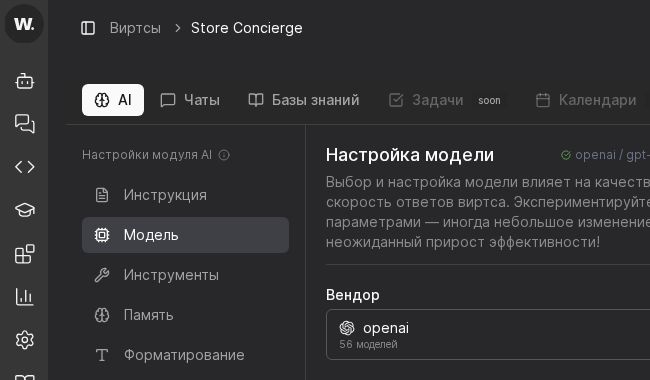
Preconditions
Select the virt, go to the AI section, and choose Model. Confirm you are in the intended virt and can see both vendor and model selectors before changing parameters.
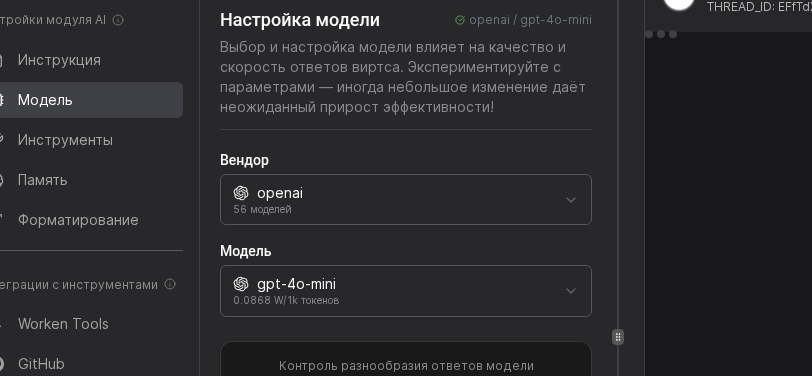
Use OpenAI or GigaChat for most customer care flows, while DeepSeek or Anthropic help with long reasoning. After you pick the vendor, confirm the API key status to ensure quota is active.

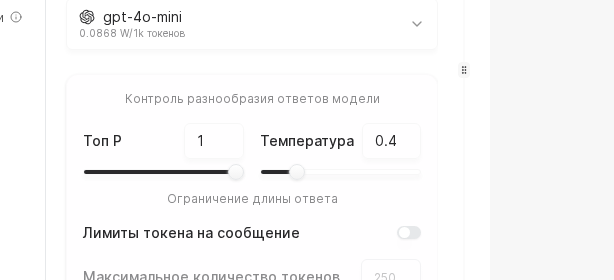
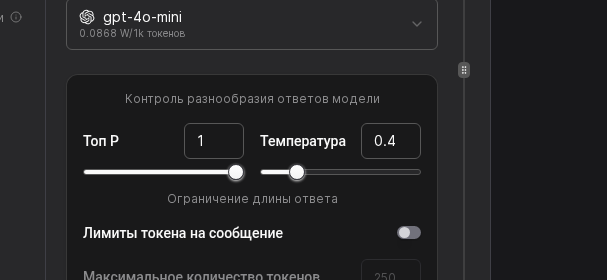
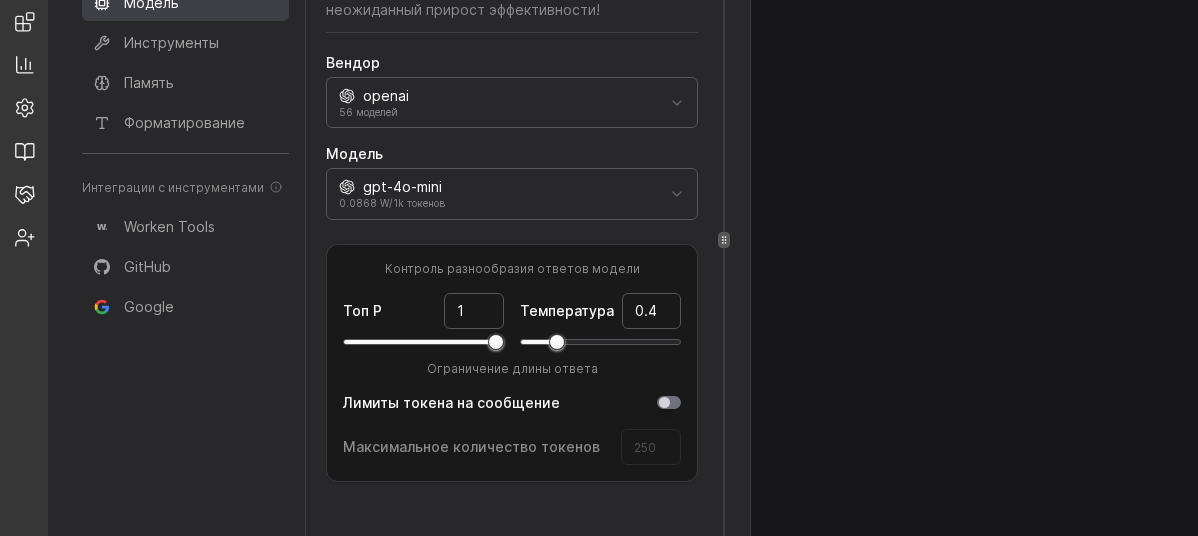
Move the Temperature slider toward 0.3 for strict FAQ answers or toward 0.9 for more exploratory chats. Set Max tokens to 700 for short updates or 1500 for detailed consults, then note the expected spend in the sidebar.
Re-check the Vendor + Model pair, then validate Temperature, Top P, and max-token limits. If needed, adjust values and click Save.
WARNING
High token limits often hide gaps in knowledge. Before doubling the context window, check whether the virt can answer by using tools or by refining the instruction.
Example
A delivery network uses GigaChat for Russian-language order chats. The model is set to temperature 0.4 and a 900-token limit so responses stay short and accurate. After rollout, the team saw dialog cost drop by 18 percent, and first-response time improved by 2 seconds.